If you’ve owned a home in Idaho for more than a couple of seasons, you already know what our winters do to asphalt. One month it’s 15°F with packed snow, and the next week it’s 45°F with melting runoff. That water seeps into every microscopic hairline gap in your driveway.
When you notice cracks opening up across your blacktop, the instinct is often to head to the nearest home improvement store, grab a $15 plastic jug of cold-pour liquid sealer, and pour it into the crack. But does DIY crack repair actually work in our climate? Let’s take an honest look.
Step 1: Read the Crack Before You Touch It
Not all cracks are created equal. How you fix it depends entirely on what kind of damage you’re looking at:
- Hairline Cracks (Under 1/8″ wide): These are surface-level stress cracks. They generally don’t accept thick rubber filler and are best sealed during your next driveway sealcoating application.
- Working Cracks (1/4″ to 1″ wide): These are active fractures caused by temperature swings and ground movement. They need flexible, rubberized filler that stretches when the asphalt contracts in winter.
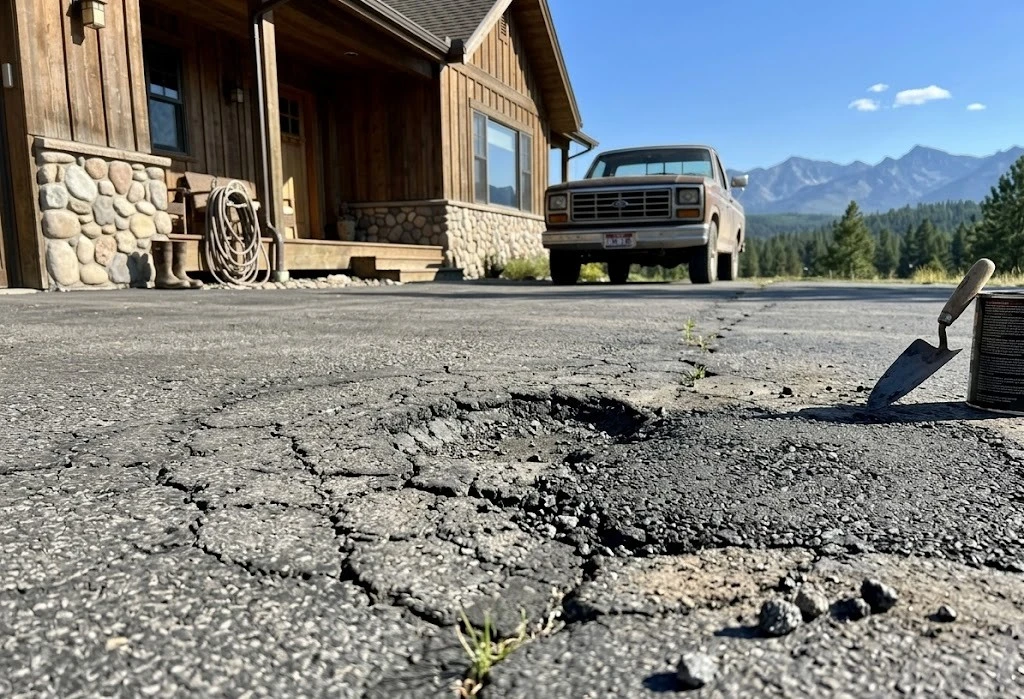
- Alligator Cracking (Webbed, interconnected cracks): This is a sign of sub-base failure. Crack filler will not fix alligatoring; you need asphalt patching or full-depth cutout.
The Step-by-Step DIY Method (For Small Jobs)
If you have a couple of small, isolated cracks and want to handle it yourself this weekend, here is how to do it so it lasts longer than two months:
- Clean It Thoroughly: Use a stiff wire brush and a leaf blower to blast out all dirt, dead grass, and loose rock. If there’s dirt at the bottom, filler will stick to the dust, not the asphalt.
- Make Sure It’s 100% Dry: Never fill a damp crack. Moisture prevents adhesion and causes bubbling.
- Insert Foam Backer Rod for Deep Cracks: If the crack is deeper than 1/2″, push foam backer rod into the crevice first. This prevents the filler from sinking to the center of the earth.
- Apply Rubberized Filler Flush: Fill the crack to just below the surface level and smooth it with a squeegee.
Why Cold-Pour DIY Fillers Often Fail in Idaho
Cold-pour bottled fillers dry by water evaporation. Once the water leaves, the cured material becomes relatively rigid. When January rolls around and your asphalt contracts, that brittle filler snaps like dry plastic, allowing water right back in.
The Commercial Standard: Hot-Pour Rubberized Crack Sealing
When our crews perform commercial crack filling, we melt heavy-duty polymer-modified rubber blocks at 400°F in an oil-jacketed kettle. We inject the molten rubber deep into the cleaned crack under pressure.
As it cools, it bonds directly to the sidewalls of the asphalt, creating a flexible, watertight gasket that expands and contracts through -10°F winter freezes and 105°F summer heatwaves without tearing.
Protect Your Driveway Before Freeze-Thaw Season
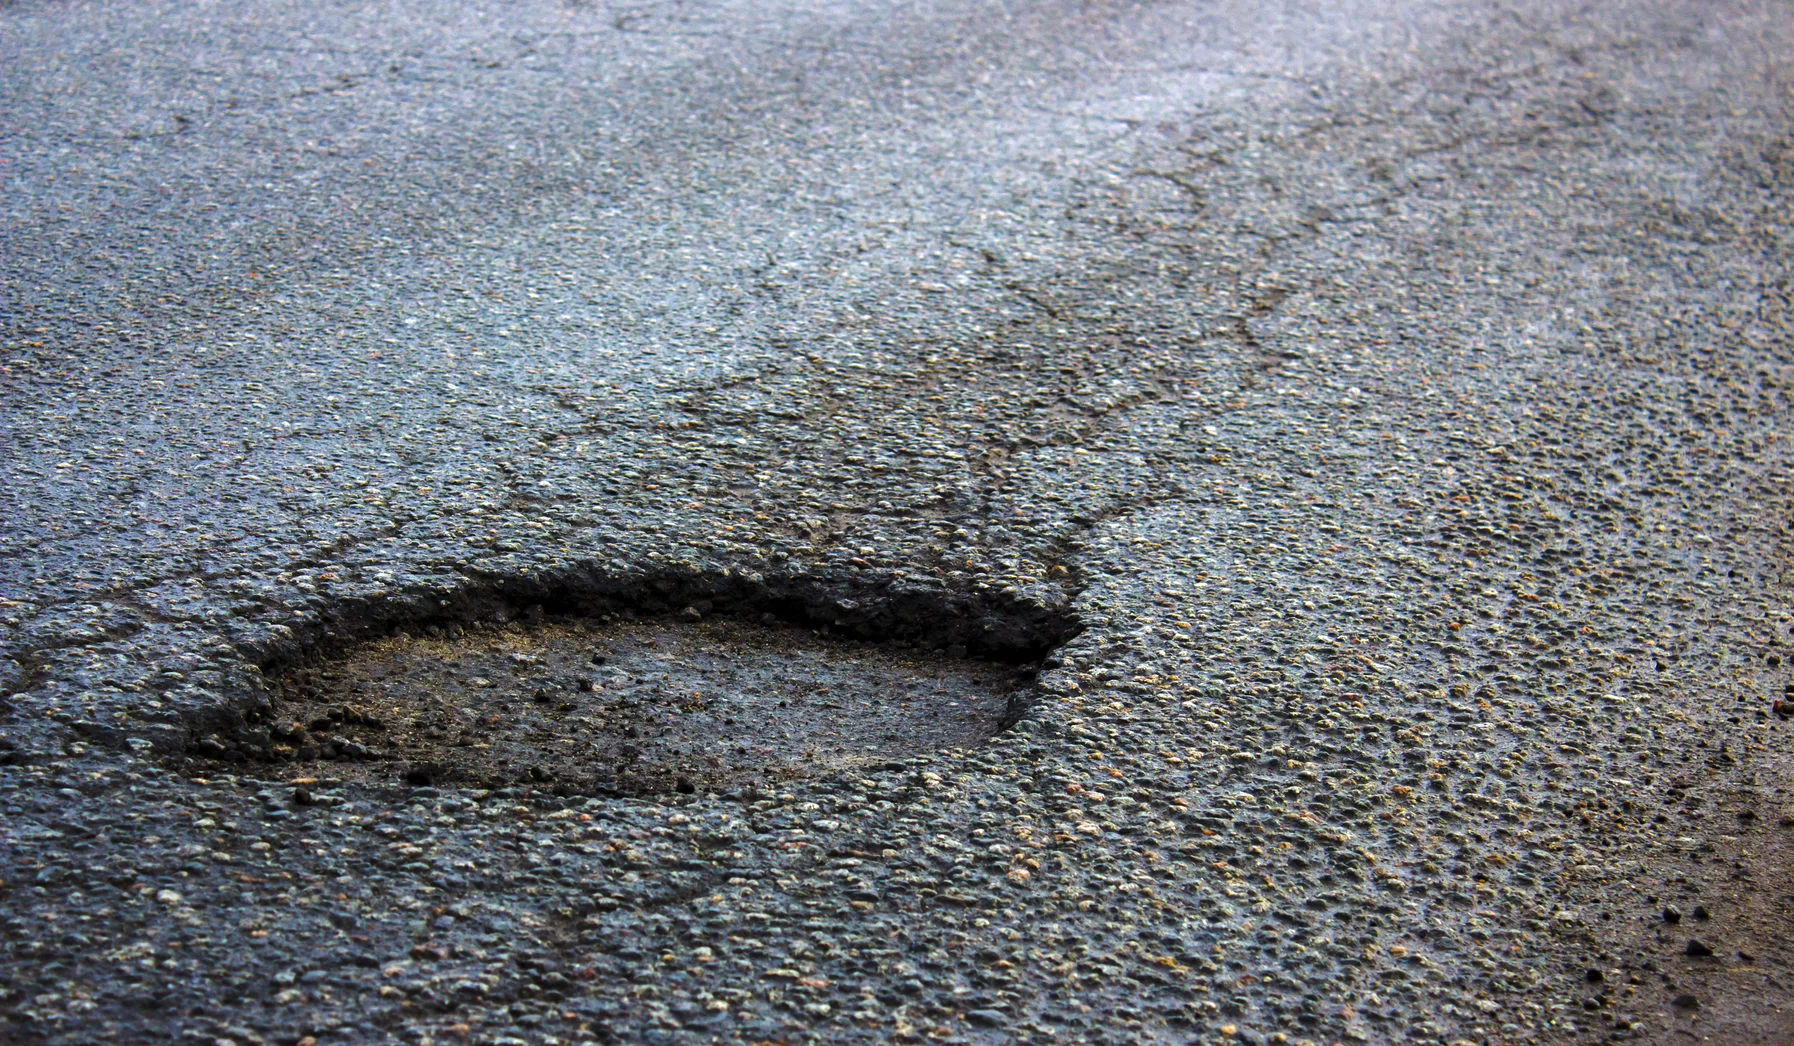
Addressing cracks while they are small is the single cheapest way to prevent potholes and foundation failure. Contact Superior Striping today to get your driveway sealed and weather-ready.